


Restoring old wooden floors in a Victorian house


Ah my dear readers. Finally, we made it – the floors are done and I no longer have to breathe dust like a crazy dust-breathing dragon any more.
It’s very exciting. And I’ve loved seeing the transformation, day by day… I wanted to write a post to explain what we did, how we did it and give you some tips, should you be thinking of doing something similar to your home.
We’ve always loved the look of old natural wood as flooring and so when we found our house in Walthamstow, we held our breath and prayed that beneath the carpets would be original wood… (it’s crackers that you can go through the house purchasing process and no one is obligated to tell you what’s under the carpets!)
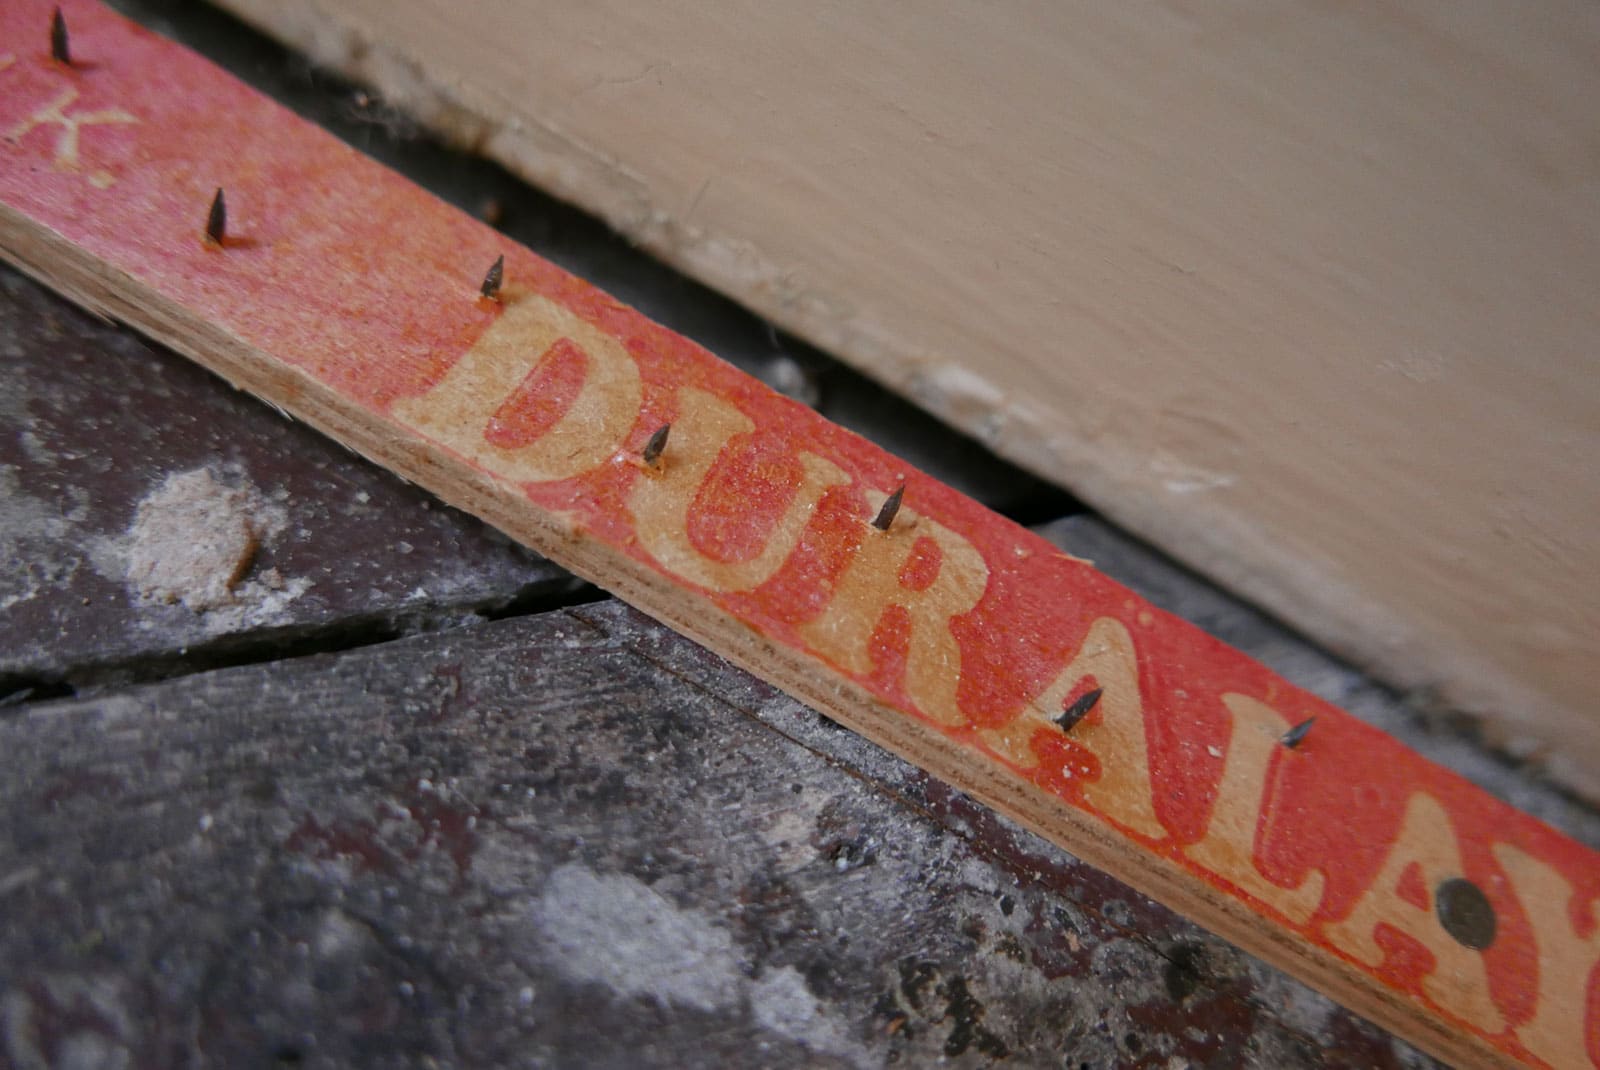
A few weeks ago we began the dusty process of pulling up the carpets. This is surprisingly more easy than you might imagine. You need a good pair of protective gloves (those gripper rods are evil) a Stanley knife, some duct tape and ideally, a dust mask.

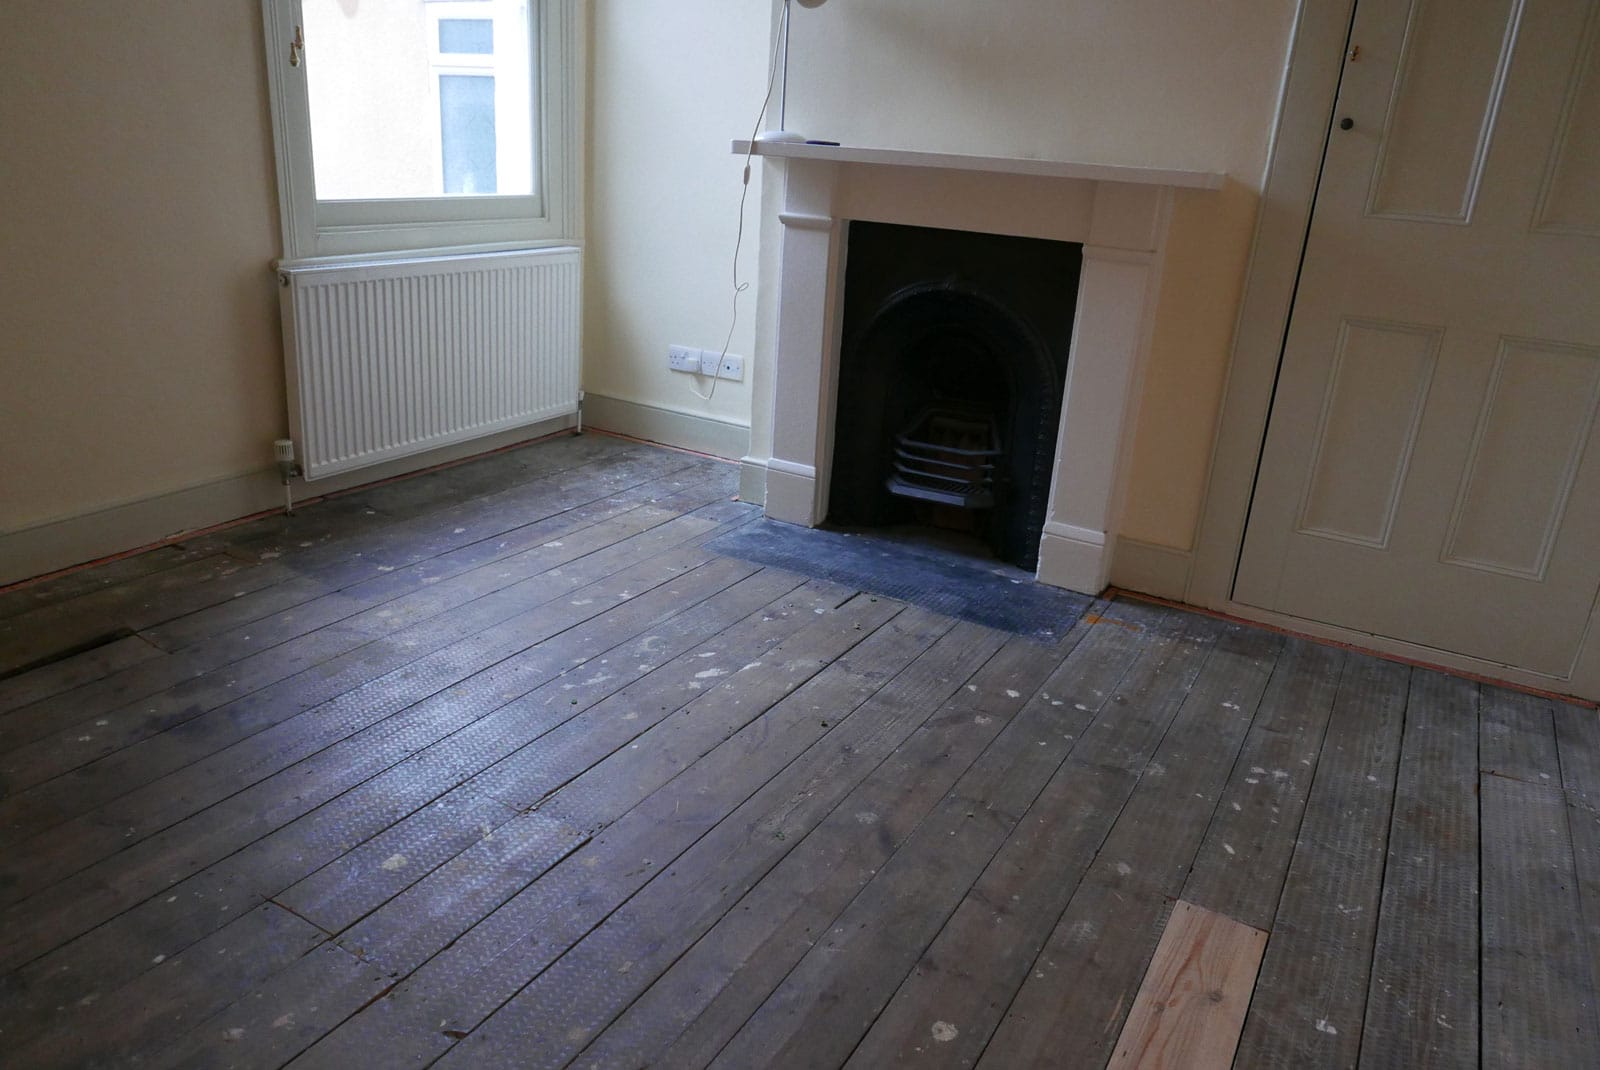
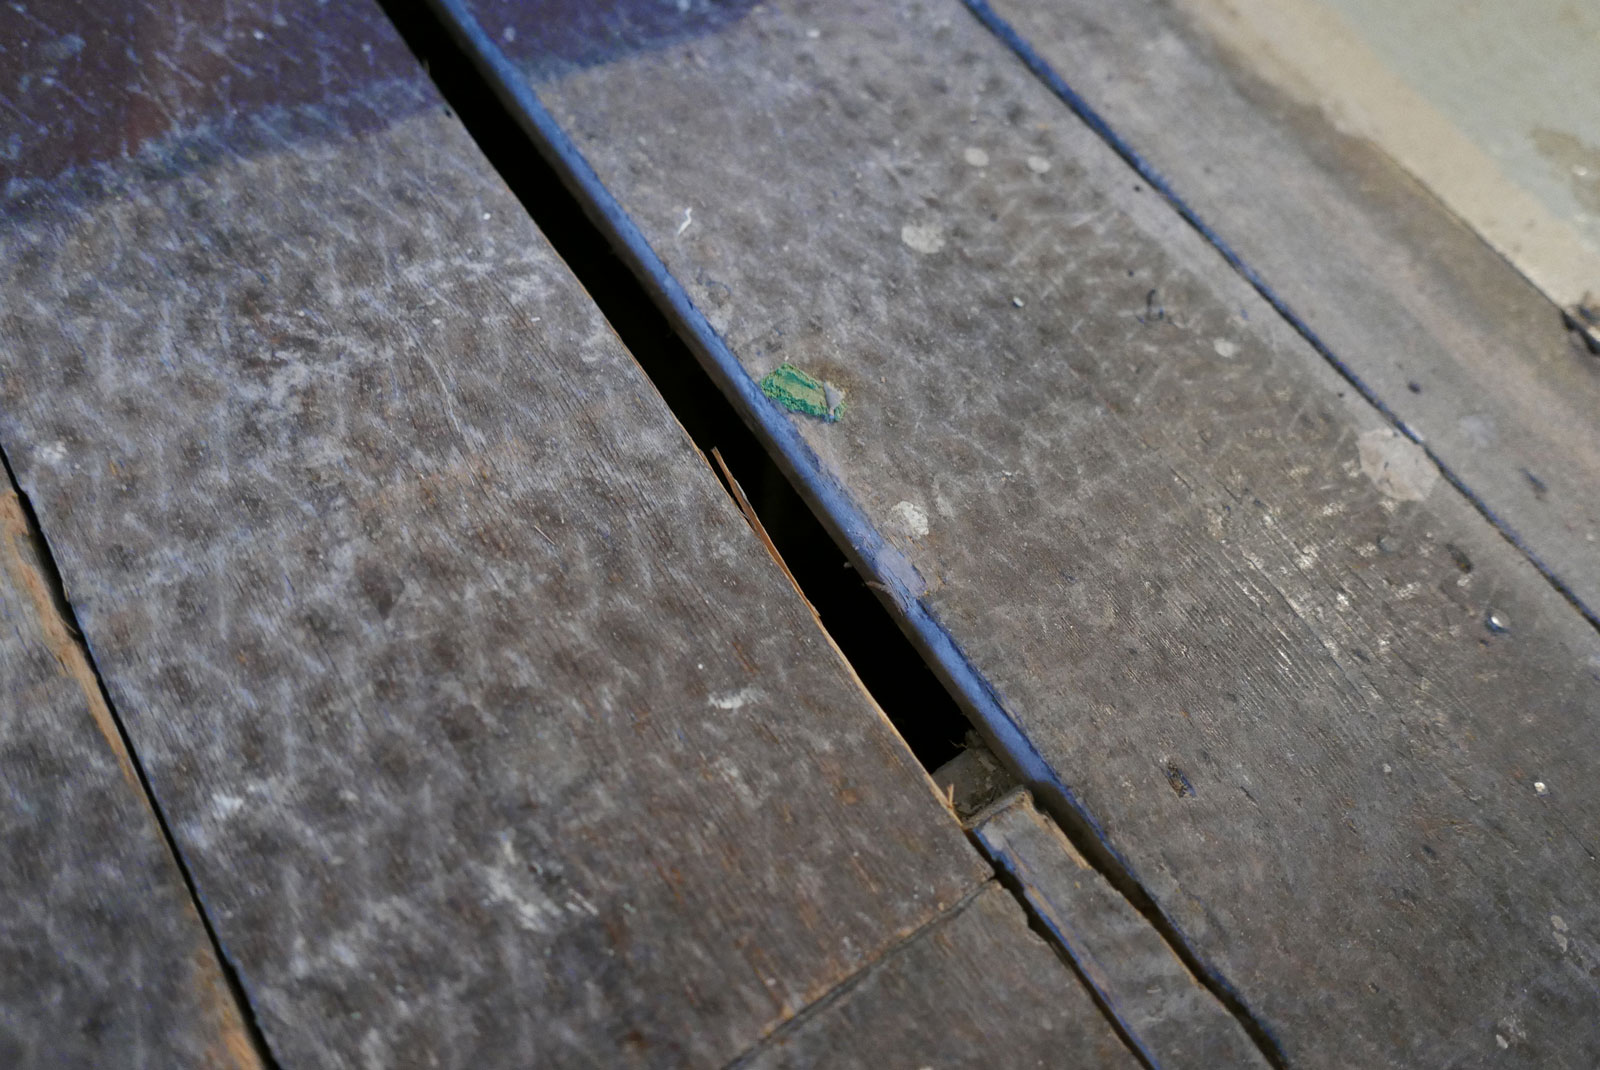
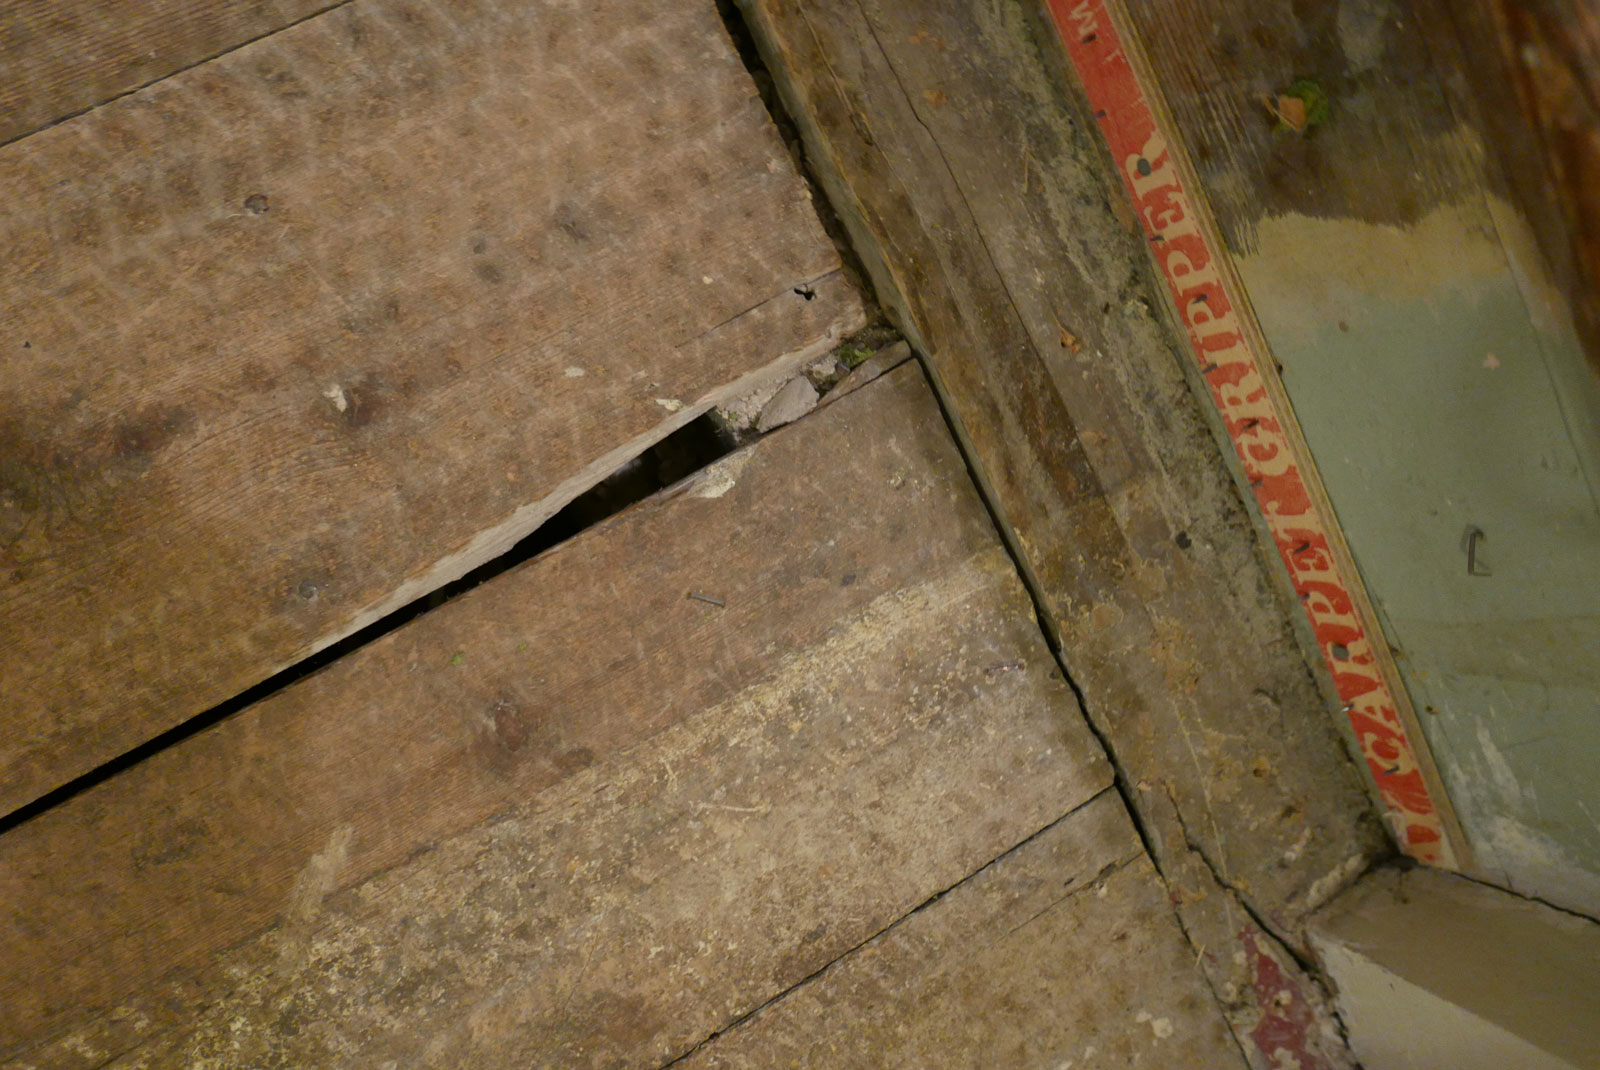


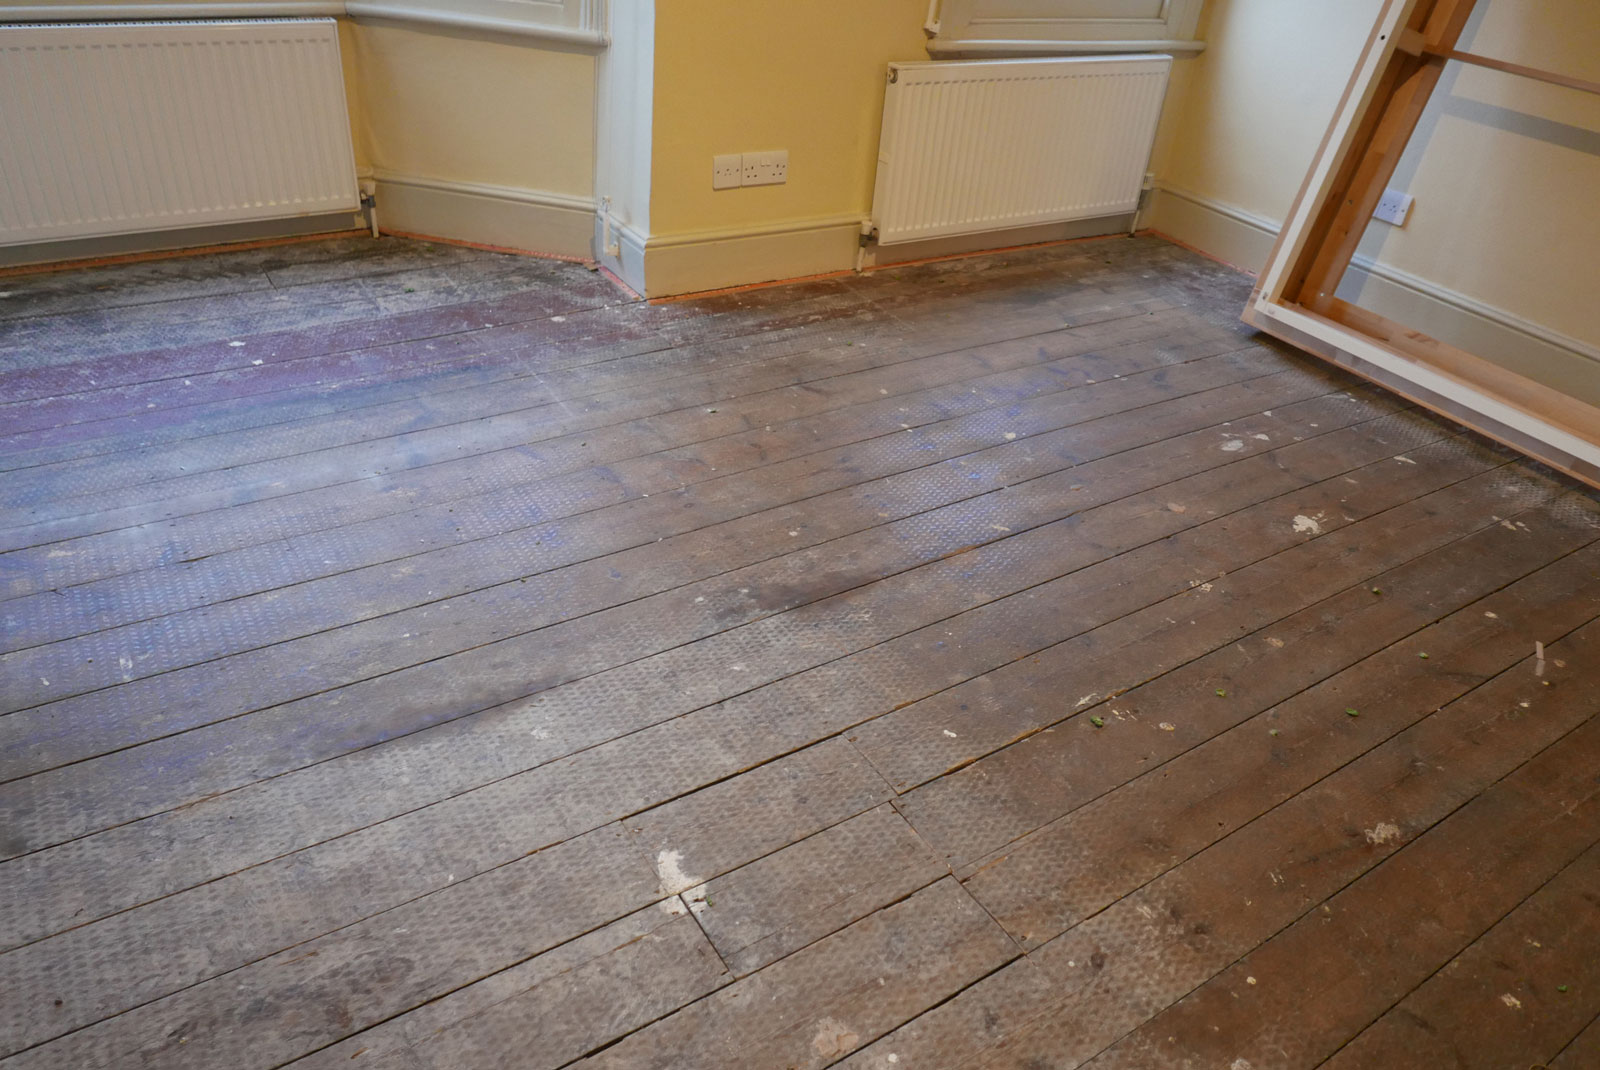
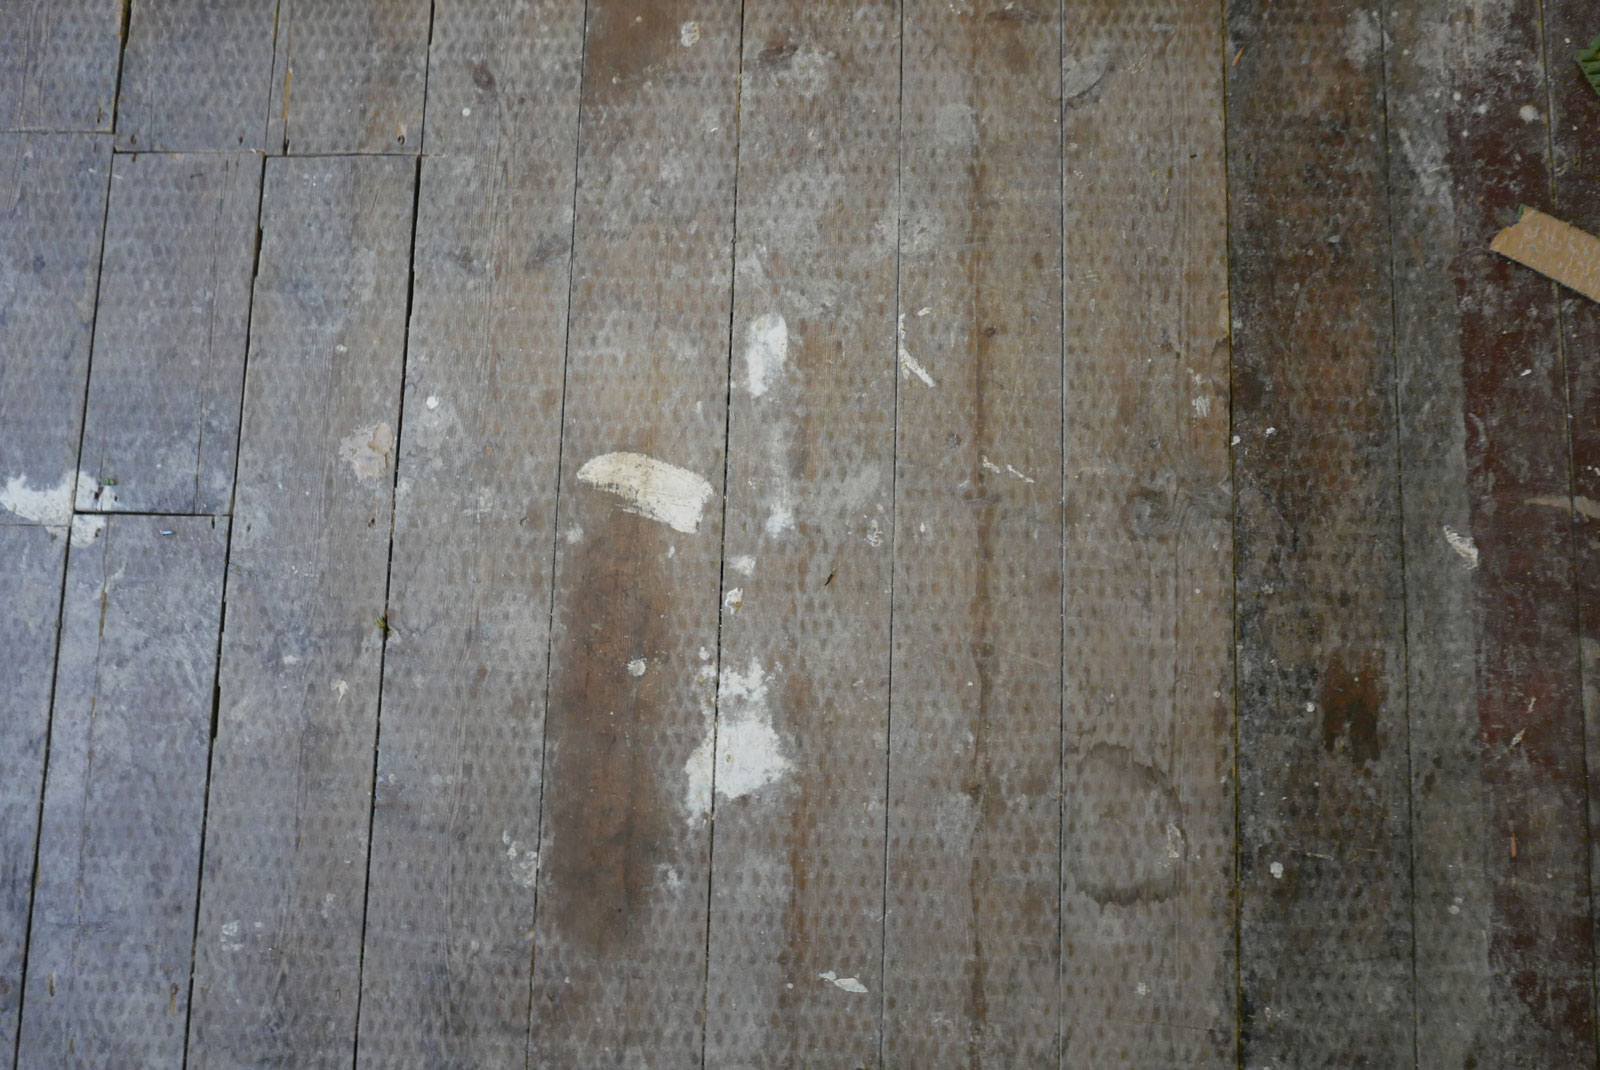
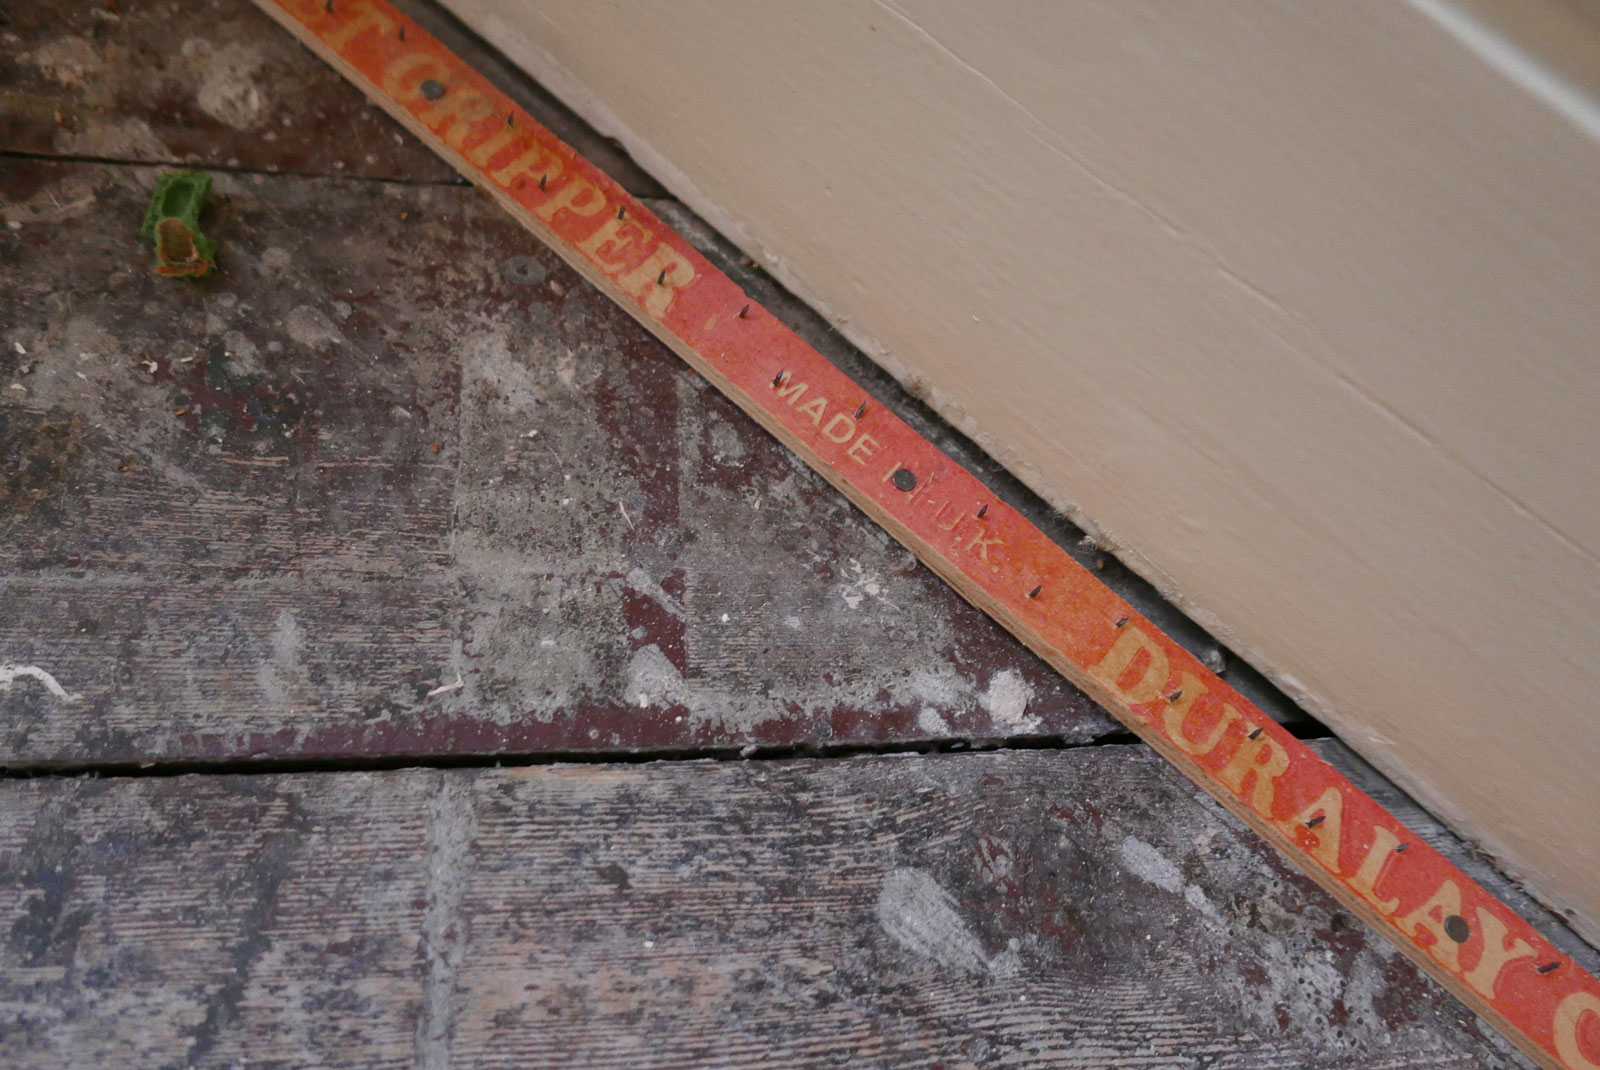
When you pull up the carpets, keep in mind how you plan to dispose of it afterwards. We had arranged a collection with our local council, but they would only collect 5 rolls at a time, and each roll had to be less than 6ft long. So we cut our carpet and underlay into one strip at a time and rolled a few layers up together, securing the roll with Duct Tape.
Once we’d pulled up all the carpets, we could call someone to get a proper quote for all the work – we wanted all the damaged boards and new boards replaced with original reclaimed pine boards (as per the original boards already there)… and for all the floors and stairs to be sanded down, stained and varnished.
Tames Flooring had come highly recommended and so I dropped them a line. Ryan, the owner, popped round that week and as soon as he arrived we knew we were in safe hands. He’d not been through the door for 10 seconds before he was doing some kind of Irish Jig on our floors (apparently he was testing them and feeling for joists and things… but I’m sticking with Irish Jig).
(You can reach Ryan at Tames Flooring on 07447 929127 or ryantame@yahoo.com.
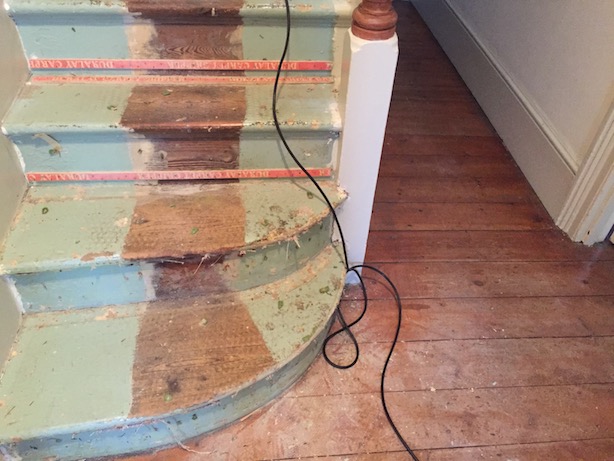
He explained what he intended do and was very keen to manage our expectations, which we both really appreciated. One thing we didn’t realise was that due to the way the stairs had been painted, with a strip left down the middle, meant that there would always be a contrast there. (I thought this was because the paint had damaged the sides, but in fact, the lead paint the Victorians used, actually protected the wood! The stairs were actually more damaged where there’d been no paint).

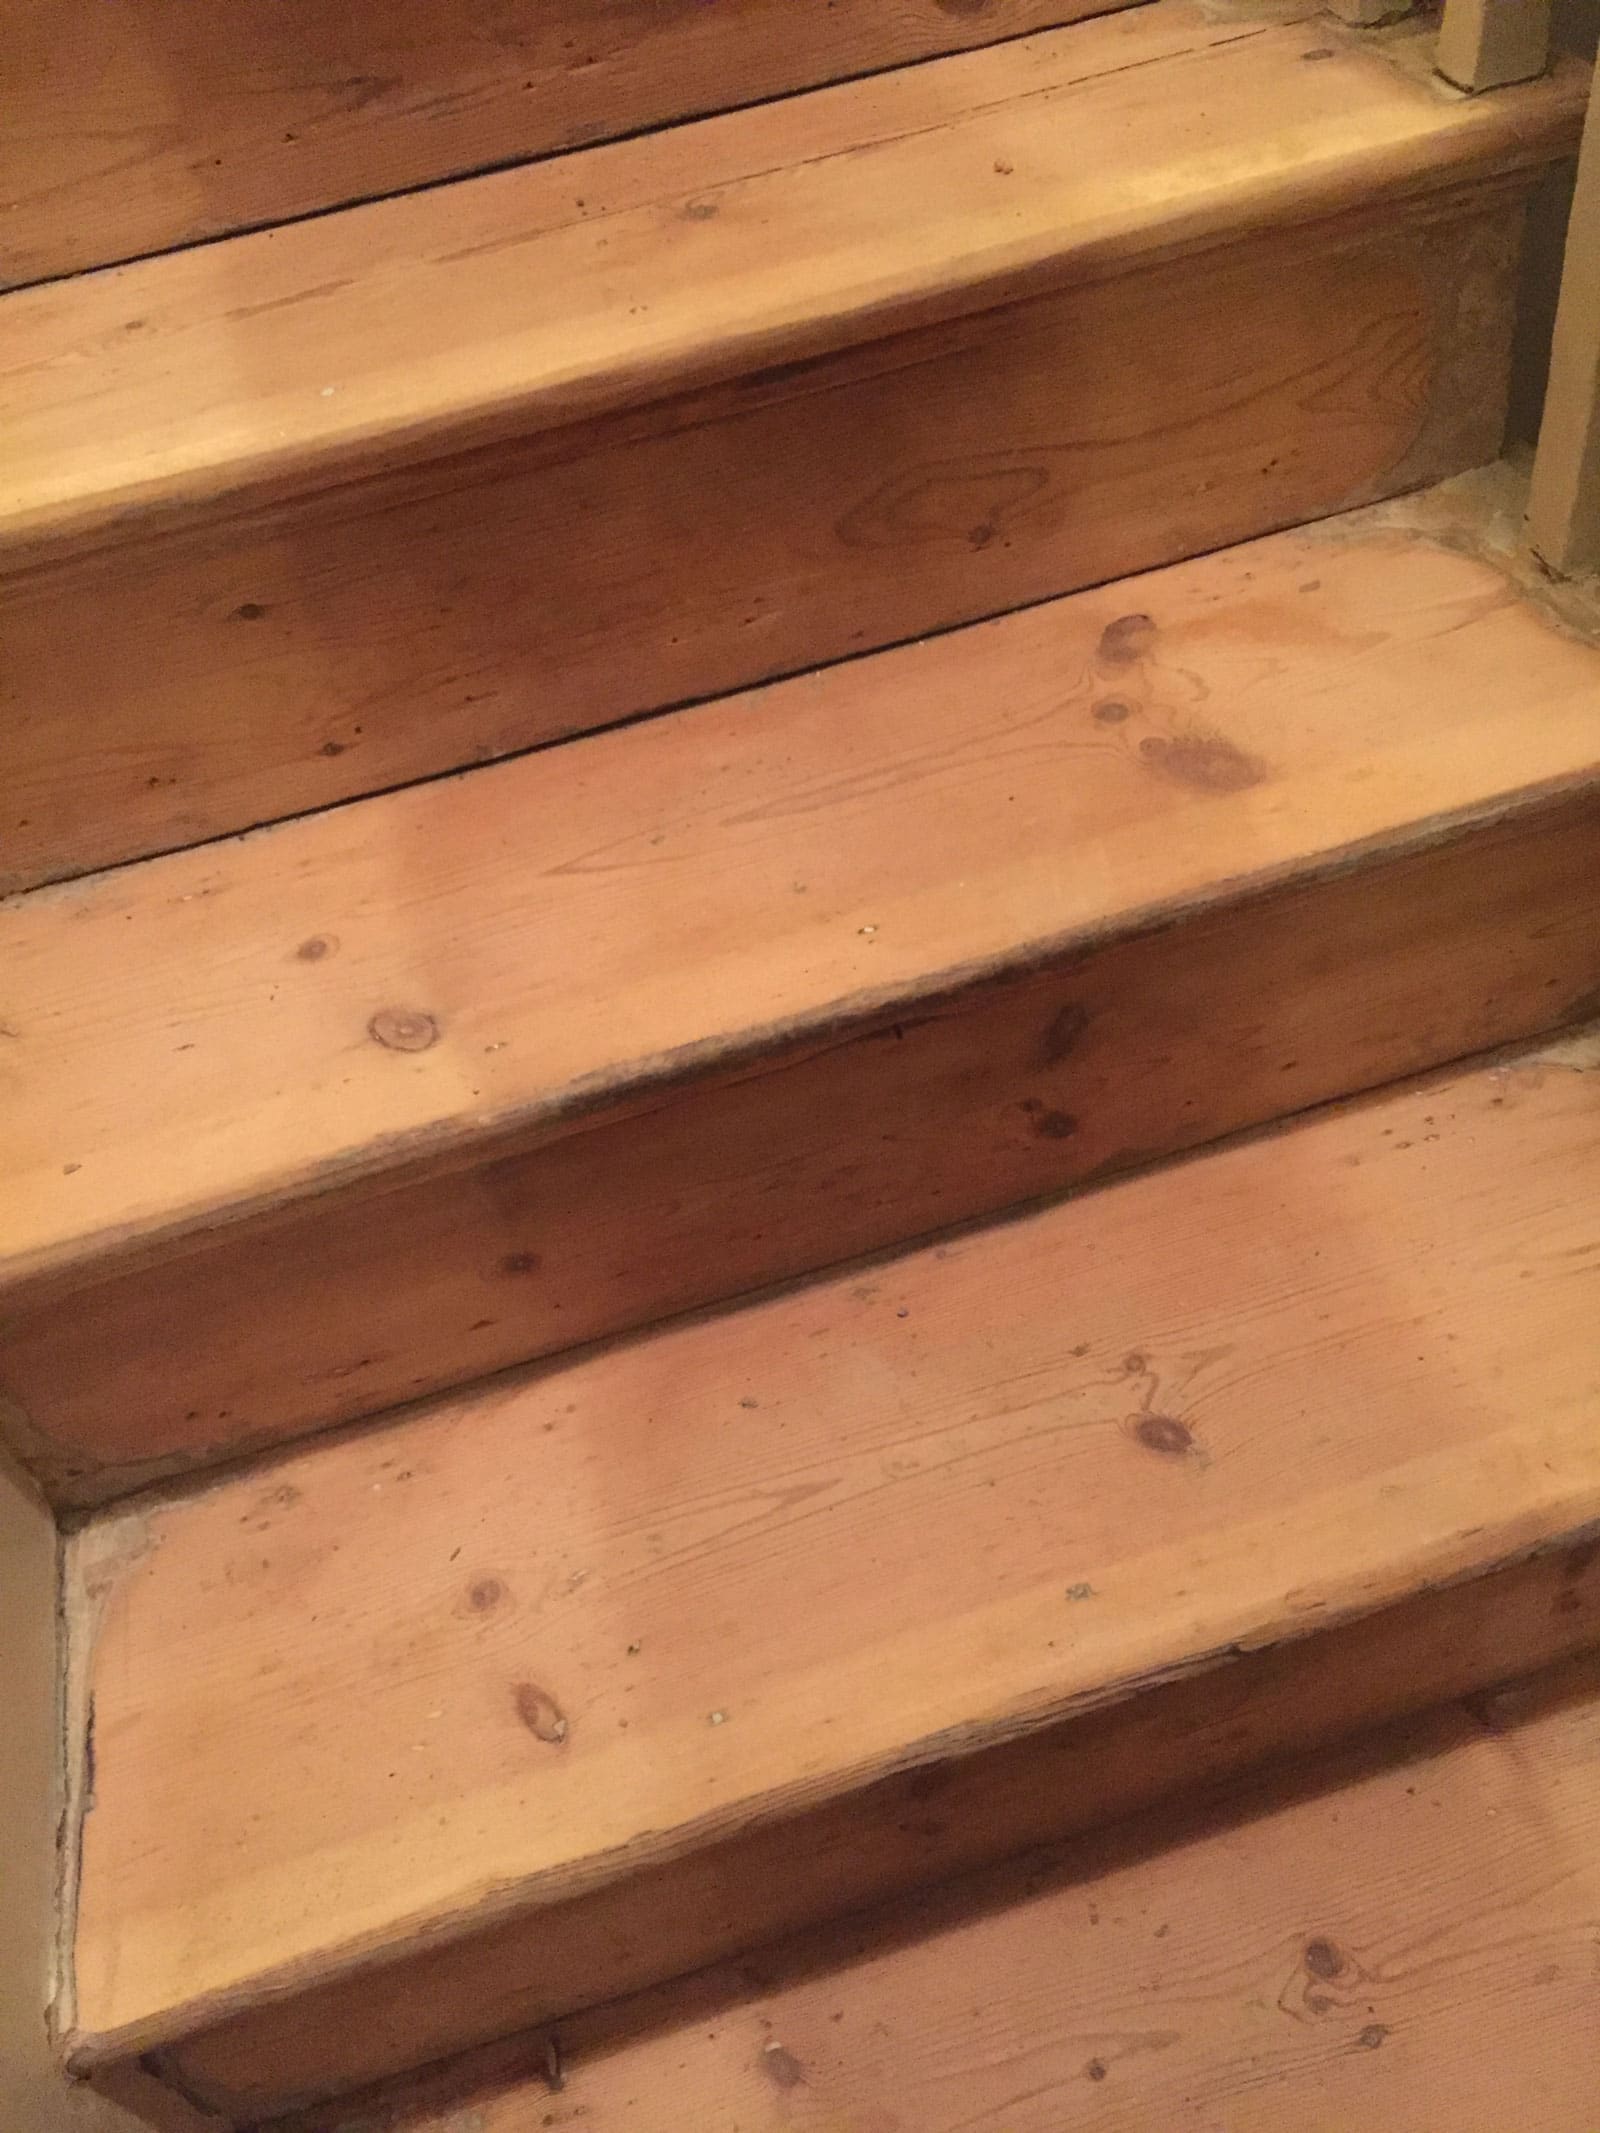

We knew what kind of look we wanted, but couldn’t find a stain anywhere that matched what we had in our brains. So Ryan mixed up a walnut stain with some black – we did 6 parts to 1, and it turned out exactly as we had hoped.

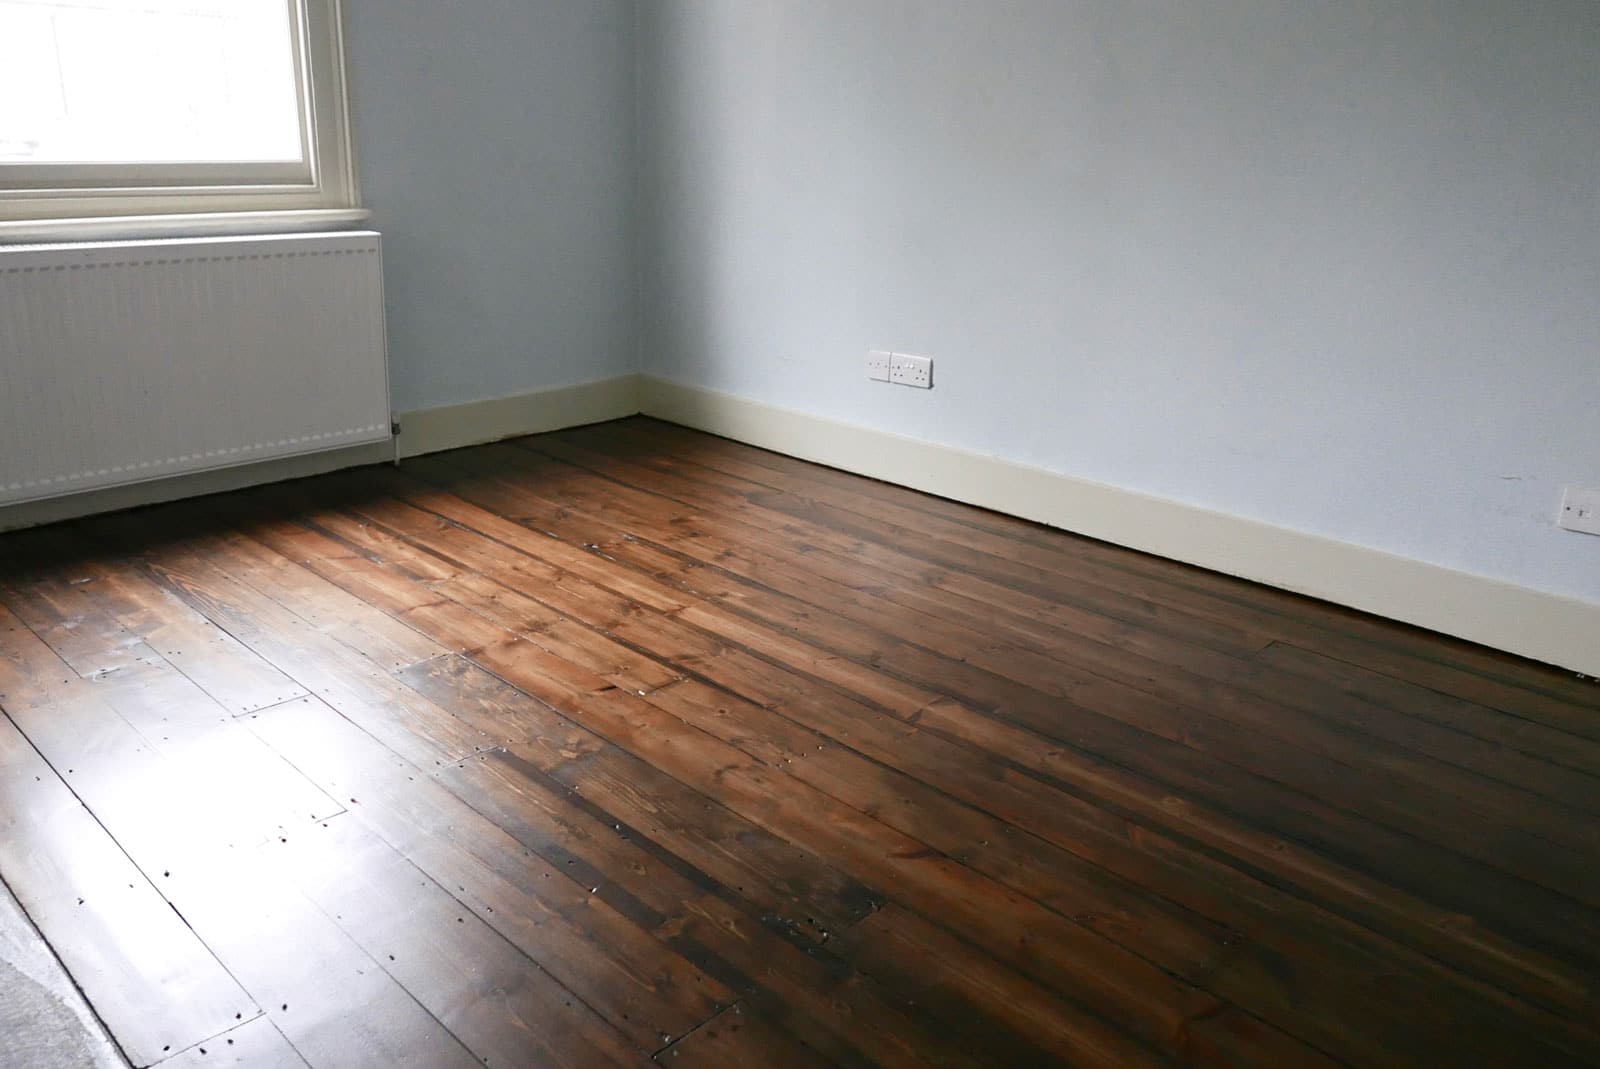
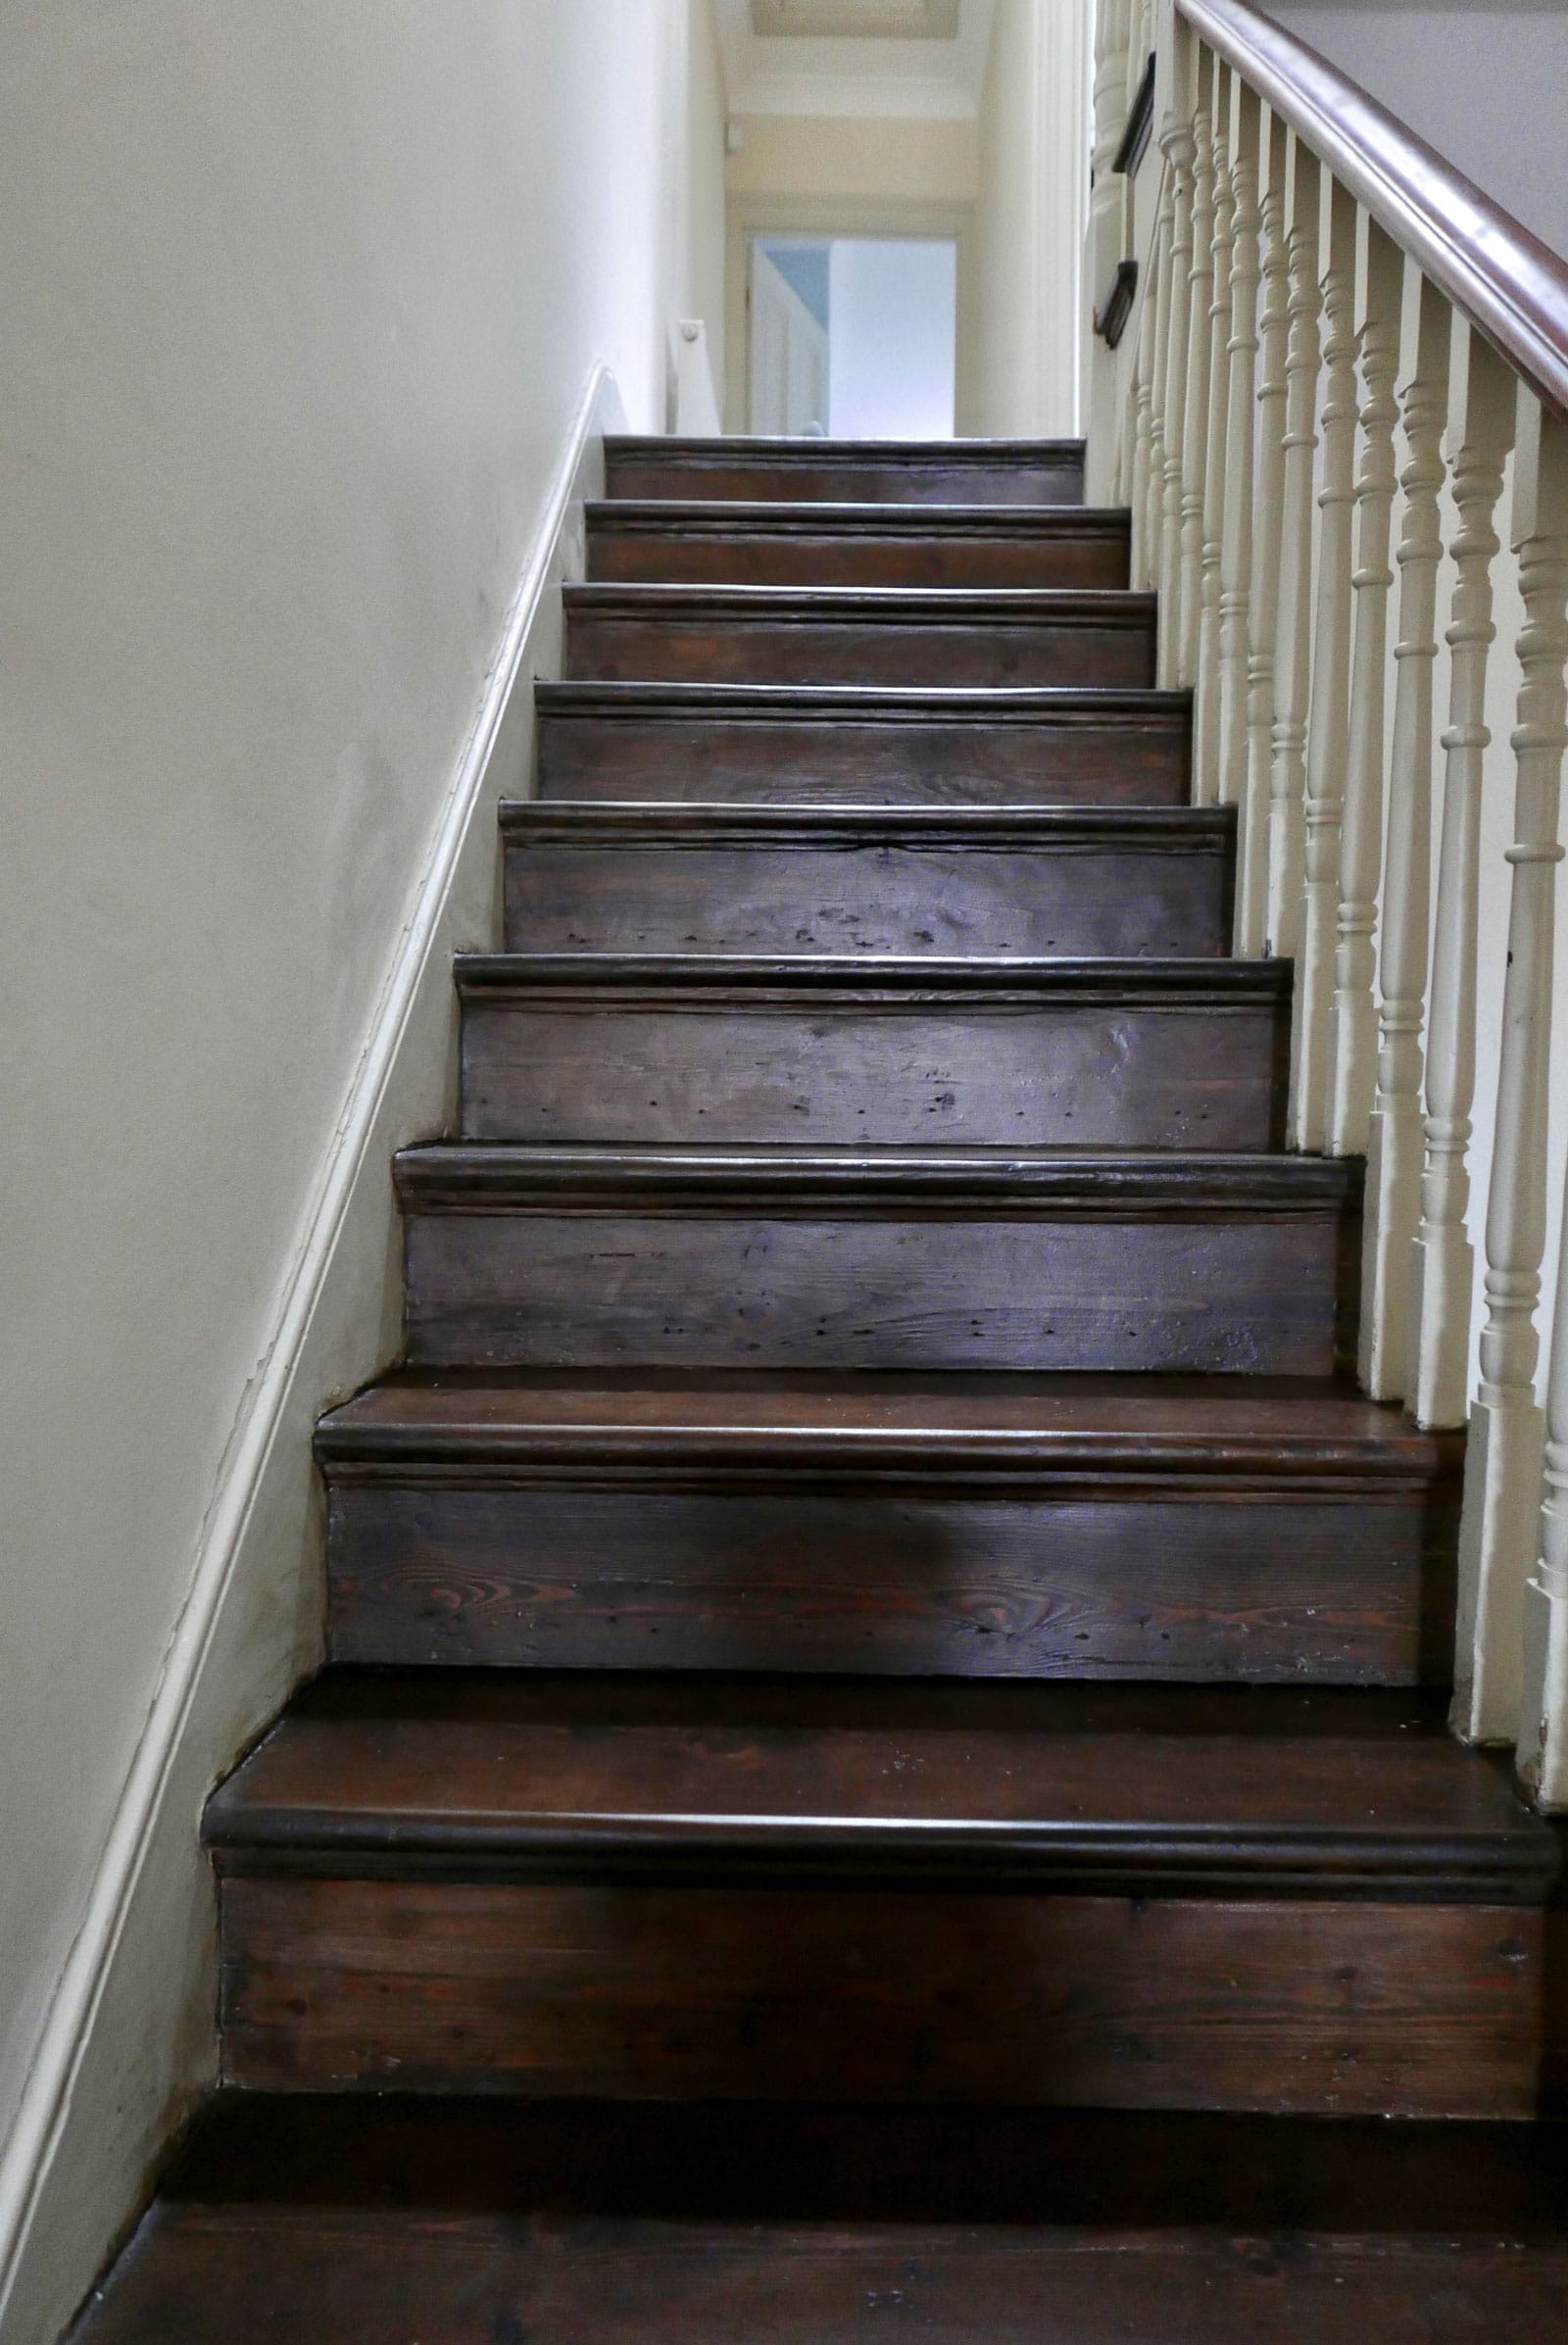
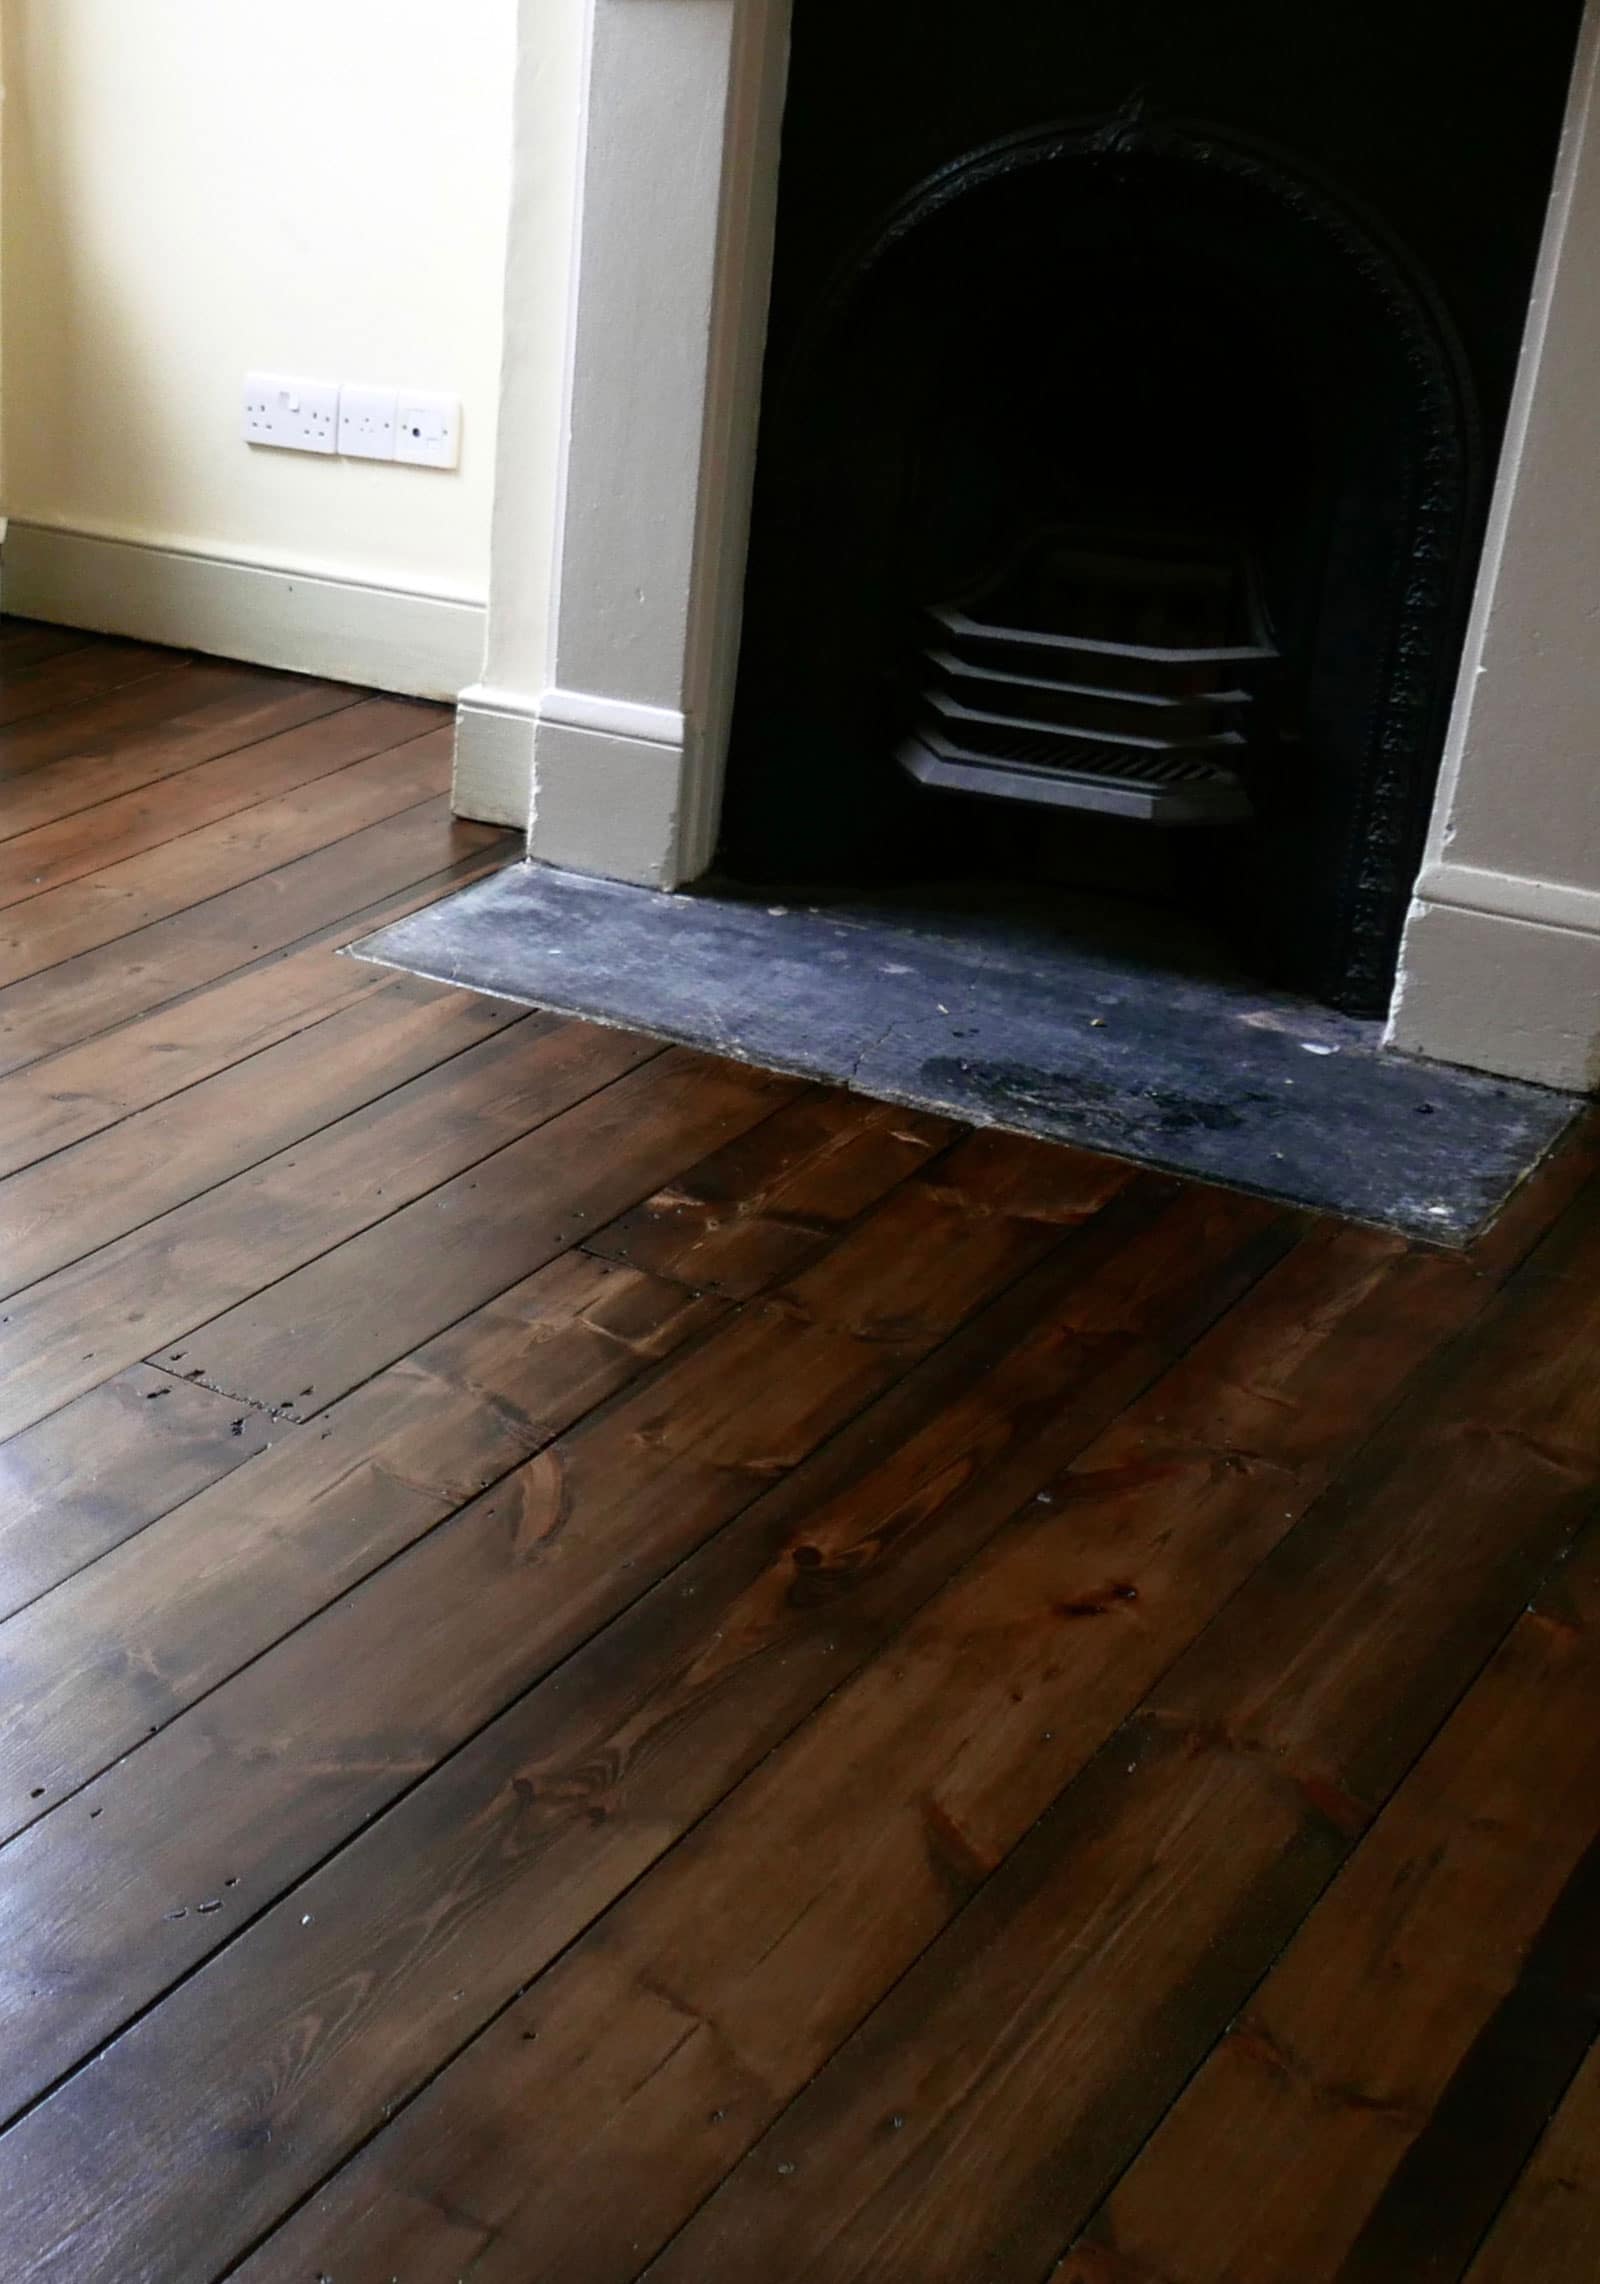

We are beyond thrilled with the results. The job took 7 full days, but our stairs were incredibly fiddly – we have an unusual amount of spindles! Ryan was amazed at how long it took – he usually estimates between 2 – 3 days for stairs, and ours took longer. But I’m so grateful to him for not cutting corners and even though it took him longer than expected, he didn’t charge us any more than he originally quoted.
CONTACT RYAN – 07447 929127 / ryantame@yahoo.com
What weren’t we expecting? The DUST!! Sanding floorboards generates more dust than you can possibly imagine. If we did it again, I would lock everything I own in a room, shut all the doors and go and stay with friends for the duration. We didn’t do this and I suspect we’ll be cleaning up the dust for many months to come – it really does get everywhere! I’ve also managed to inhale rather a lot of it, so I’ve had a horrid cough for a couple of days… but not any more 😉
WHAT WE SHOULD HAVE BOUGHT:
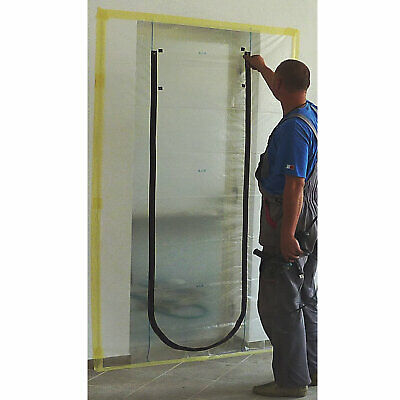
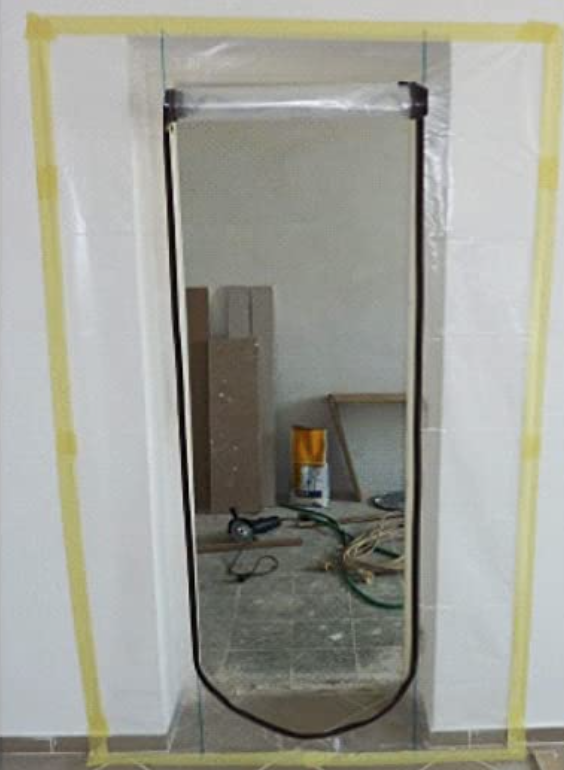
These amazing zip-up dust protection doors. We since have used these for all other works in the house and they are AMAZING.
I never would have attempted to do any of this by myself – having watched Ryan and his team work, it’s clear this is specialist work. The floors and stairs have been meticulously worked on and now have been stained to perfection.
Thank you Ryan – we’re looking forward to having you back to do the downstairs at some point! Just need to fill up that piggy bank again 😉
Aftercare
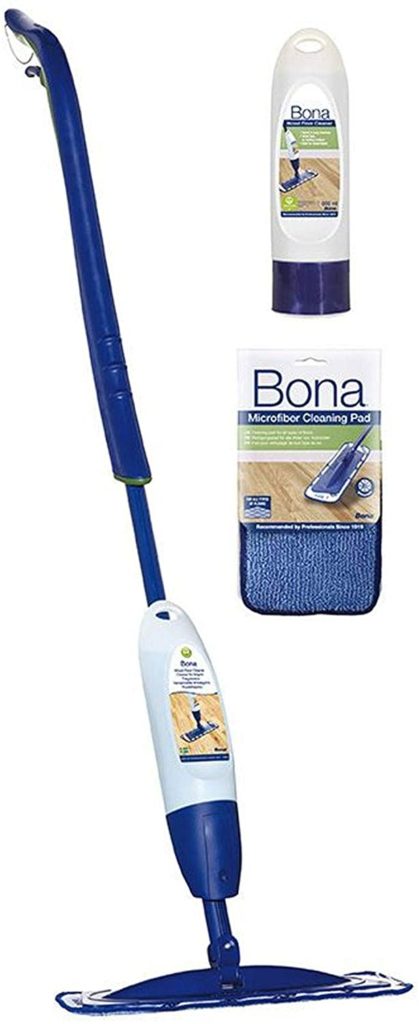
Ryan said “NO WATER, EVA!” And suggested the Bona Wood Floor Spray Mop, which comes with its own special cartridge of magic potion, to clean your floors and keep them protected. I’ve bought one and it’s my new favourite thing.
Tames Flooring
See my side return extension work here – proper building work! With a big smash up! Grown up stuff…
CONTACT RYAN – 07447 929127 / ryantame@yahoo.com
Update – May 2023
Our floors are still looking wonderful in Walthamstow and we booked Ryan again for our new renovation project in Whitstable – you can see his transformation of Belle Cottage here.



Laura
I’m finding this so interesting! I never knew there could be wood underneath the carpets! Although to be fair I’m not sure what I thought would be under there haha. I can’t wait to one day have my own house and make it my own – yours is looking very snazzy already! x
Laura // Middle of Adventure
Isla Simpson
slipper alert! I’ve just ordered some sheepskin ones. Your Floor looks positively dreamy xx
Poppy Loves
Hurrah! And thank you doll xx
Daniel
Beautiful work! Congratulations.
The Crown, Old Amersham – The Perfect Valentine’s Staycation | Poppy Loves :: London Lifestyle Blog
[…] loved the stained dark wooden floors and actually took great inspiration from these for our recent floor restoration […]
JAne Guy
Totally love the final result and shall NOT be spilling my tea when I come and visit!
Poppy Loves
Hurrah! CAN NOT WAIT X
Kodak has stolen my heart. All over again.
[…] I have a butter dish, a teapot, a classic telephone…its why I stripped my house back to its original floorboards, it’s why I used a manual SLR well into the digital age (I was eventually forced into […]
Miley Lopez
Wonderful beat! The many reasons wood floors are damaged. Thank you for sharing.
The perfect sleep on the perfect mattress
[…] done the floors upstairs, we’ve had our sash windows draft-proofed (and in our bedroom, double glazed – flippin […]
Mat
Hey Poppy,
Great post – it looks brilliant. May I ask how much this cost?
Cheers
Katie Matthews
Hi Poppy,
How much did this cost? It looks gorgeous!
Thanks
Anastasia Ververidou
Great relief to find your website! Our stairs has that stain in the middle, what you ve done with the dark stain is just perfect!
Did you mix the varnish with black floor paint?
Poppy Loves
Yes, that’s exactly what we did. And we tried out different ratios on bits of wood before committing to the one we went with. It worked perfectly.
Lucio Cicolecchia
What a shame we were not aware of your project. Woodoc offers a simple system to customise the finish with 32 colours (which you can mix) and the stains are added directly to our floor products. Woodoc doesn’t peal or crack and wears naturally so if there is an area of high traffic which might worn more you can just touch it up. Visit our website for more info http://www.woodoc.biz or call 01223 655 686
Sarah
Love your final results! We just pulled up all the carpets in the house yesterday, and the flooring boards underneath are not in great condition, some with big gaps between the planks. Hopefully they can still be restored as beautifully as yours. A few of my concerns at the moment, really appreciate if you can share your experience.
1. We have a baby just learnt how to crawl, the floorboards have lots of metal nails on, so my hubby is worried that the baby will get hurt!
2. Did you put the insulation underneath the floorboards? Do you find it noisy when walking on the floor? With a young kid in the house, we are not sure whether we can stand the noise level without any sound proofing methods
Neal
Looks gorgeous but varnish does not look after the wood and needs redoing. Best thing for original flooring is a quality carnauba and beeswax like Briwax.
Linda Smith
Hi there, thanks so much for sharing the lovely pics and how to info! My new pine floor will be bought already sanded ready to
lay and for us to treat ourselves. Do you still think we need to clean it first before the oil? Thanks xx
Mim
Hi, this post was helpful as I have a very similar project, old Victorian house and iv stripped up the carpet which looks like yours did before you got it looking beautiful. Thank you. My question is, how much am I looking to roughly spend As I am pretty much wanting get do exactly the same work done!
Georgian House Designs Uk – imagehousedesign
[…] Download Plan More @ http://www.poppyloves.co.uk […]
Fatima
Hi. This is weirdly exactly what we are looking to do to our house.. in Walthamstow! And we want to achieve this same dark colour. Would you mind telling me the brand of walnut stain and black stain you used? And the varnish? Thank you!
Joanne Mitchell
Thank you for sharing your blog. I am at the beginning of the process!
Poppy Loves
Good luck!
Ludovica
Thanks so much for sharing! We recently bought a Victorian house and are getting the same done. We had been looking at various carpenters and Tames Flooring was such a great recommendation.!
Angela
Hi, Thank you for sharing. I want to achieve this same dark colour. Would you mind telling me the brand of walnut stain and black stain you used? And the varnish? Thank you!
Alex Sutton
This is amazing! Refinishing my hardwood floors is something that has been on my to-do list for months and after seeing your experience, I think I’m finally ready to start! Thanks for sharing!
Louise
Did you consider getting your floors filled? I’ve heard that it can be better for keeping the floors clean?
Caroline
We are restoring our new home, it is 1930s and have just discovered lovely floorboards beneath the old lounge carpet and they are in really good condition, barely any gaps, so I am looking to get them polished up. I love the colour of yours so you have given me food for thought!
Also we were going to keep the carpet on the stairs and just clean it up but after seeing yours I am now tempted to rip that out too!
Phario
Hi!
I came here randomly searching for advice about renovating pine flooring. I’m curious if you can comment on the status of your floors now five years after you went through with the project. The main that that concerns me is that pine is a softwood, so it is prone to dents and scratches. Are you happy with the decision to redo the flooring?
Poppy Loves London
Hello! Yes, absolutely – zero regrets. And we’re about to do the same again in another property! The floor just seems to look better and better with age.
Poppy Loves London
Hi Phario, absolutely! Our floors still look fabulous 🙂 There are a few dents here and there but they honestly just add to the charm – the floors still look fantastic 5 years on.
hanry
Great article! It’s really helpful to see the step-by-step process of restoring old wooden floors in a Victorian house.
I would also recommend getting your carpets professionally cleaned before you move back in. This will help to remove any dust and debris that may have settled in the fibers during the renovation process. Professional carpet cleaning can also help to improve the indoor air quality of your home.
Vic
Hi there, you mentioned the lead paint on your stairs… (it is also in old dark varnish as well as we have discovered in our 1930s property) and we were worried about all the dust, especially as we have young kids in our house. Anyone with very young children should think really carefully about removing paint finishes like these on old stairs using sanding. It really is a health hazard in terms of lead poisoning and worth pointing out to people. I am currently stripping ours using chemical strippers making it easier to contain.
Poppy Loves London
Thank you for raising this, Vic!
Matt
Hi – great article! I’m just about to restore the floor in my 1902 property as well.
You mentioned lead paint on the stairs, may I ask how did you removed this safely?
Thanks again for sharing!